Digital Lab
Scan your negatives, edit them in Photoshop or Lightroom on a calibrated screen, and print up to 24 inches wide.
Workstations
4 iMacs
27-inch and calibrated, plus 2 for scanning only
Scanners
Epson flatbeds + Nikon
35mm up to 8×10 sheet film
From negative to print at one desk
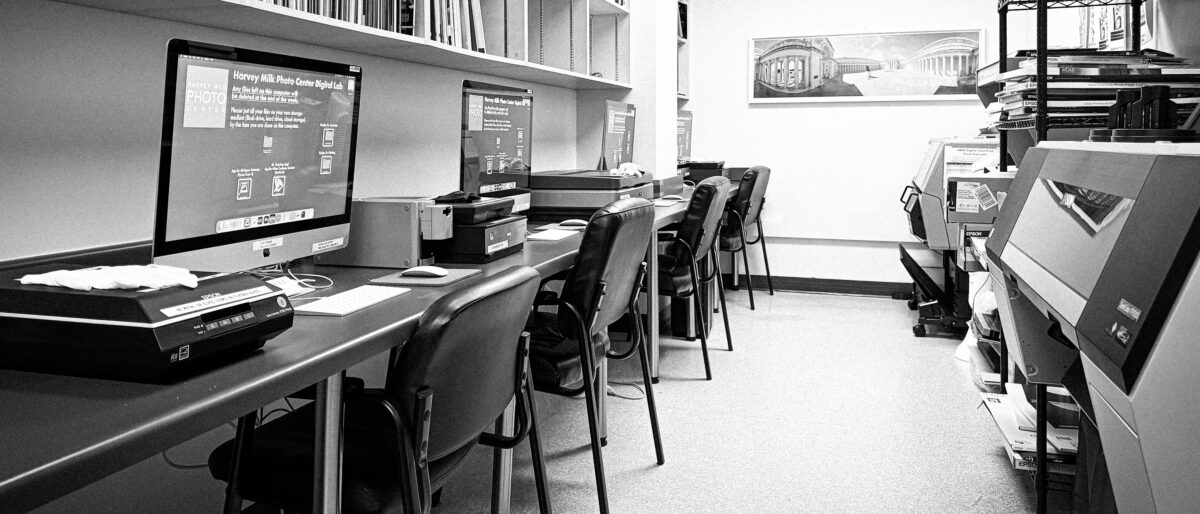
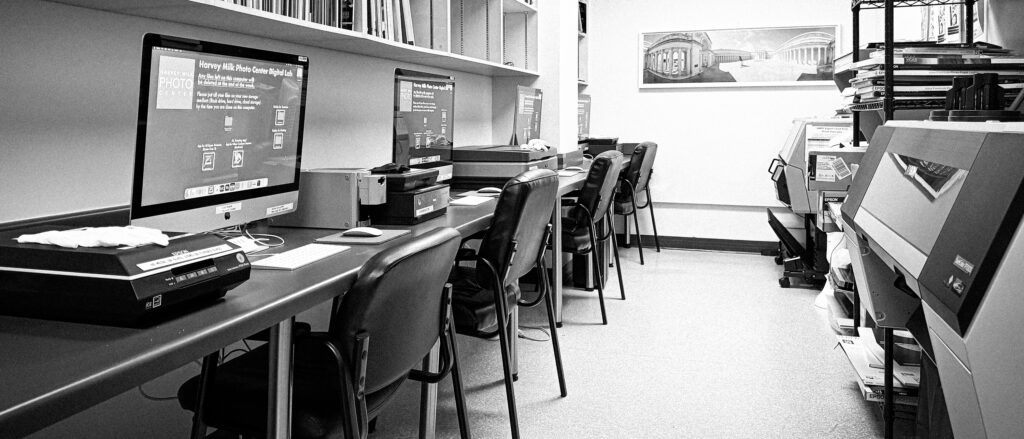
Every computer in the lab is connected to a scanner. The four 27-inch iMacs are color calibrated and run Photoshop and Lightroom; two older iMacs are for scanning only, handy when the lab is busy.
There is no sign-up sheet here: walk in and take a free computer, or call the front desk to ask how busy it is. The computers are online, so if you forget your hard drive you can save to Google Drive or Dropbox.
Staff will show you how our setup works, but they don’t give hands-on lessons in scanning or inkjet printing. If you’ve never made an inkjet print, expect a lot of menus and bring some patience, and keep an eye on the class listings.

How a digital session works
1Check in
Tell the front desk you’re in the digital lab, and mention it if you plan to print.
2Scan
All the Epsons run the same software, so learn one and you know them all. A light in each lid scans film; use our film holders. They also take prints, documents and anything flat that won’t scratch the glass.
3Edit
Photoshop and Lightroom on the four calibrated iMacs. Headphones, not speakers.
4Print
Tell staff before you print. Use your own paper, or buy from our stock, which includes single sheets and rolls up to 24 inches wide.
5Log your prints
Fill in the print log on the clipboard before you go: paper, size, whose paper, how many square inches.
6Take your files with you
Copy your work to a drive or cloud account and log out of everything. The computers are cleared from time to time, but not immediately, so trash and clear the trash if you have sensitive files you don’t want others to possibly see.
Scanners
| Scanner | Resolution | Film it takes |
|---|---|---|
| Epson V550 ×3 | 3200 dpi | Cut 35mm and medium format |
| Epson V850 ×2 | 6400 dpi | Cut 35mm and medium format, 4×5 and 8×10 sheets |
| Epson 10000XL ×1 | 2400 dpi | Cut 35mm and medium format, 4×5 and 8×10 sheets |
| Nikon Coolscan IV ED ×1 | 35mm only, in strips of 3 to 6 frames. Runs VueScan. |
Printing
An Epson SureColor P7570, 24 inches wide, for color and black and white prints and for digital negatives on transparency. It takes sheets from 8.5×11 up and rolls up to 24 inches wide. Printing is the one thing in the Photo Center that costs extra on top of a membership.
Our paper
13¢per sq in
You pay for the whole sheet, including anything left unprinted.
Your paper
10¢per sq in
You pay only for the printed area.
| Print size | Our paper | Your paper |
|---|---|---|
| 4×6* | $3.12 | $2.40 |
| 5×7* | $4.55 | $3.50 |
| 8.5×11 | $12.16 | $9.35 |
| 11×14 | $20.02 | $15.40 |
| 16×20 | $41.60 | $32.00 |
*Printed on a roll or on an 8.5×11 or larger sheet. The price shown covers the print area only; on our paper you pay for the whole sheet it is printed on.
Before you come
Orientation first
Take the orientation, then work on a membership or a day pass.
Bring a portable flash or hard drive
Or have a Google Drive or Dropbox login ready. Nothing on the lab computers is kept.
You can bring your own paper
Printing on your own paper costs less, and you only pay for the printed area. The computers have the color profiles installed for common third party papers.
Check for closures
The lab closes for some classes and events. See facility closures.
Lab rules
- No wet scanning. Use the film holders we provide, and only those.
- Don’t scan metal, glass or rock. They scratch the flatbed glass.
- Treat it as a public computer. Log out when you’re done and don’t save passwords.
- Use headphones, not speakers. The digital lab is a quiet space.
- Log every print on the clipboard before you leave.
How to get into the digital lab
Everyone starts with the Photo Center orientation. After that, work here on a membership, or pay for a single day.