
Black & White Darkroom
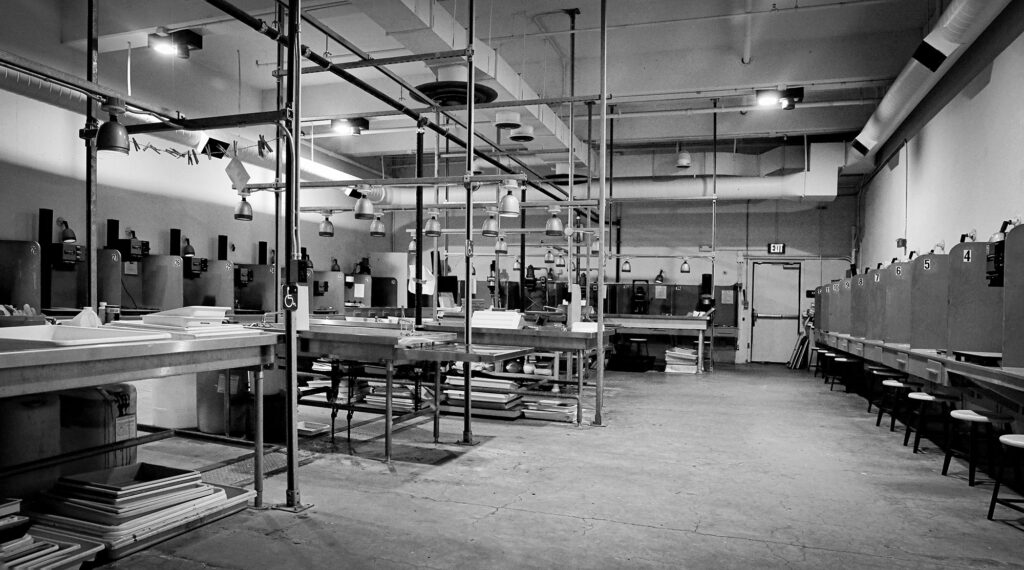
Thirty enlarging stations in one 1,700 square foot room, chemistry mixed fresh every day, and staff who wash and dry your prints for you. One of the largest public black and white darkrooms in the country.
Enlargers
30 stations
35mm, medium format and 4×5, plus 8×10 on request
Print size
Up to 16×20
One big room, shared by printers
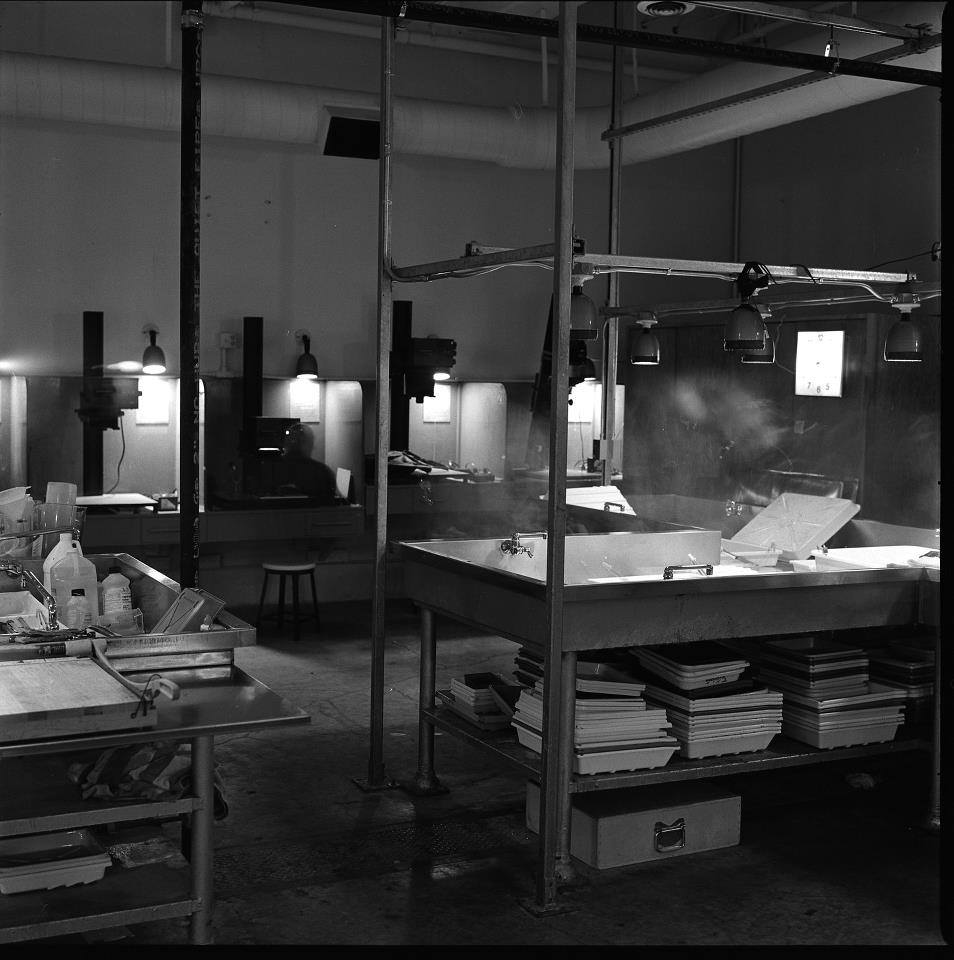
The darkroom is one open room. Everyone prints at their own enlarging station and shares a long run of trays at the group sink, where staff set out developer, stop and fixer, mixed fresh every day. Think of it as the darkroom version of a community basketball court: busy, friendly, and everybody’s space.
Most stations are set up for 35mm, a good number for medium format and a few for 4×5, and most can be switched over if the room is busy. It is brighter in there than you might expect, and a map at the front desk shows where each station sits.
You bring your negatives and your paper; we don’t supply black and white printing paper. Everything else, from negative carriers and easels to grain focusers and dodging tools, is on the shelves as you walk in.
Printing hours
Prints have to be fully developed and in the water holding bath by the cut-off. Fiber takes longer to wash and dry, so it stops half an hour earlier than RC.
| RC paper | Fiber paper | |
|---|---|---|
| Tuesday | 3 – 8 pm | 3 – 7:30 pm |
| Wednesday | 3 – 8 pm | 3 – 7:30 pm |
| Thursday | 3 – 8 pm | 3 – 7:30 pm |
| Saturday | 11 am – 4 pm | 11 am – 3:30 pm |
| Sun, Mon, Fri | Closed | Closed |
Stations 5 to 12 close when a class is on. The darkroom never closes completely for classes, only for select events. See facility closures.
How a printing session works
1Check in and claim a station
Tell the front desk you’re printing, then write your station number, name and time in on the darkroom sign-in sheet. Write your time out when you leave, so staff know the enlarger is free.
2Grab your tools
The entryway shelves hold negative carriers (35mm, filed 35mm, medium format, up to 4×5), speed and bladed easels, grain focusers, contact glass, and dodging and burning tools. Put everything back where you found it.
3Knock on the way in
Knock or make a noise as you come through the entrance so nobody is caught with paper out. Phone away, smart watch on theater mode.
4Print, then process at the group sink
Every tray has its own tongs: metal for developer, red for stop, yellow for fixer, blue for water. Lift each print out and let it drain; no wiggling, no splashing.
5Leave finished prints in the holding bath
Staff wash and dry everything in the holding bath. Want to check a print under the lights first? Use one of the spare trays and step out to the lobby.
6Pick up your prints
Dry prints go into the pickup boxes in the lobby, usually the same day. Collect them within three weeks: after that, test strips are thrown away and prints move to an overflow box that doesn’t keep forever.
What’s in the room
Enlargers
LPL/Saunders 4500II and C6600, Beseler 23C and 67SC, and Omega Type D and Pro-Lab 4×5. Every station has its own timer, a safelight you can switch on and off, and a drawer with a light-tight lid for your paper. Stations that need contrast filters keep them in the drawer.
8×10 and big prints
Two enlargers take 8×10 negatives. Ask staff ahead of time so they can set one up for you. The 16×20 and 20×24 easels live next to them.
Chemistry
Ilford Multigrade developer, Kodak Indicator Stop Bath and Ilford Rapid Fixer, mixed by staff every day.
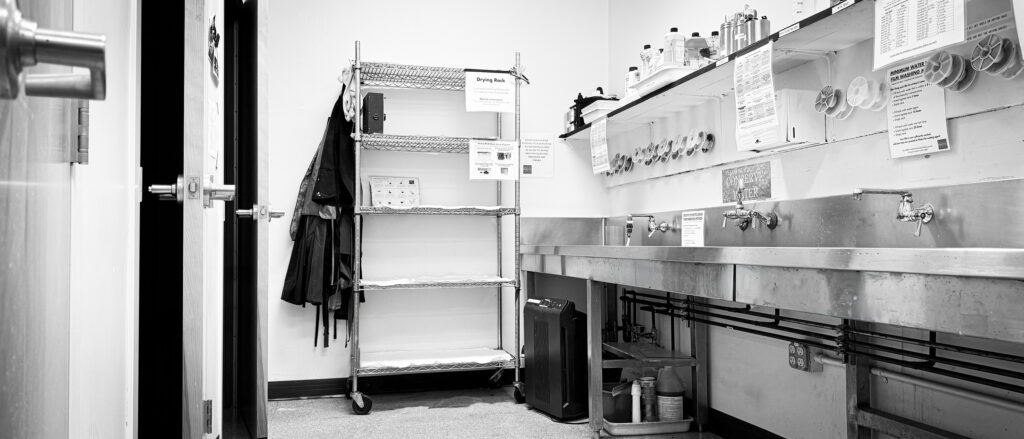
Washing & drying
RC prints go through a drying cabinet. Fiber prints get Heico PermaWash, a 15-minute wash and a drum dryer. For air drying on screens instead (a day or two), write “air dry” in pencil on the back before the print goes into the chemistry.
Before you come
Orientation first
Take the orientation, then print on a membership or a day pass.
Bring negatives and paper
We supply chemistry, tools and washing, but not black and white paper. Pencils, scissors, rulers and red flashlights are at the front desk, free to borrow.
First come, first served
You can’t reserve an enlarger. Claim one in person when you arrive. Stations 5 to 12 are often reserved and used by our classes.
Bringing a guest?
Have them talk to the front desk before they go in, so they know how the darkroom works.
Darkroom rules
- No light but red or amber. No phones, even with a red or dimmed screen. Smart watches on theater mode. No cameras, no flash. The front desk lends red flashlights.
- Knock or make a noise when you come through the entrance.
- Walk, never run, and don’t splash chemistry.
- Tongs stay with their own tray. If a pair gets mixed up, tell staff so they can remix the chemistry
- Wet stays wet, dry stays dry. Keep trays and wet paper away from the stations and the enlargers.
- Mark prints with a #2 pencil, on the back.
- Leave washing and drying to staff. You get more printing time and we use less water.
- Keep one ear open. Headphones are fine at a low volume, as long as you can hear your surroundings.
- Don’t use the class sink unless staff say it’s open.
- Look at prints outside the doorway. The spot in front of the darkroom door is narrow and busy; don’t block it.
- Take only the space you need, and put every tool back where you found it.
How to get into the darkroom
Everyone starts with the Photo Center orientation. After that, work here on a membership, or pay for a single day.